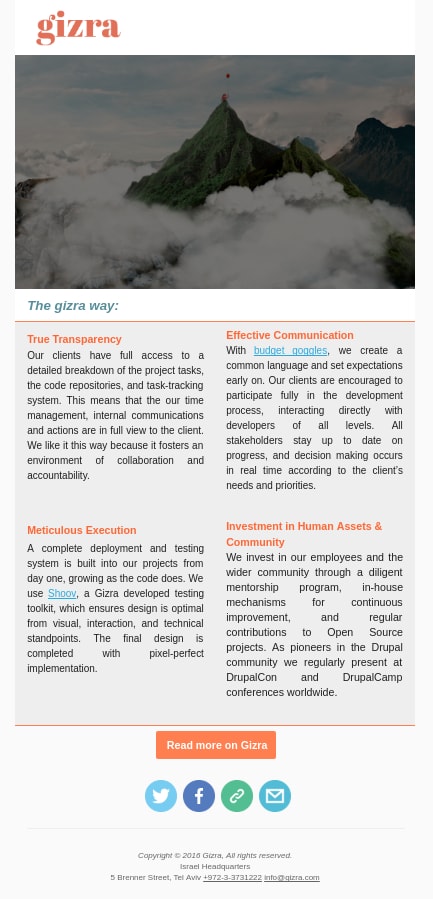
Creating a plain text email with Drupal is a simple task. However, when you want to send a nicely designed message with a logo, an article, a linked button or any other unique design with dynamic content personalized for each user, it can get complicated.
The complication stems not from the dynamic content, but rather from the fact that the CSS that can be applied inside email templates is limited. In general, targeting multiple email clients can be worse then getting your CSS to work on IE9!
This post will walk you through a solution we use to address these requirements, but before jumping in, let me first explain Gizra’s approach to themes. We don’t use custom CSS in Drupal themes. When we start building a website, we divide our work into several milestones, the first is creating a clean and static markup, using Jekyll. At Gizra, we take pixel perfect very seriously, and by doing the markup first, we can concentrate on building our App pages exactly the way they are suppose to look, test their responsiveness, show our clients a first draft, and fix bugs before getting into the logic. We use gulp to compile the SASS files into one CSS file, and after doing that, we copy the CSS file to the themes folder. Then we take our static pages, cut them into pieces, and use them in Drupal themes and plugins.
By doing this, we can focus on our logic without worrying about how it may look with different dynamic content. Focusing on Frontend and Backend as separate tasks makes building websites easier and faster. Even fixing bugs discovered while implementing dynamic content can now be easily fixed. Our No more CSS in your Drupal Theme! blog post talks more extensively about the way we work with Drupal themes.
The same approach is implemented when we create an email template. We first build the email markup with static content, and then we use it to create dynamic content messages. Oh, and we cheat, because we don’t write a single line of HTML or CSS!

Creating an email template
When we build a website we need to take into consideration that our users use different browsers and adjust our CSS rules so that our website will look pretty much the same in all of them. Achieving this is more difficult when it comes to emails.
Our users use different email services and view their emails on different browsers. Each email may look a bit different on each browser or software. Some of the email services do not support all HTML tags and CSS designs. We can’t use everything we use in our website for example: Gmail and Outlook users have poor support for float, margin and padding. Also, some email services may overwrite our design and replace it with its defaults like links color, or image visibility. Another issue is the screen widths where mobile or tablet users view emails very differently.
Our way to overcome this problem is to design our emails with nested tables since they are supported by most email services. However, this is still not enough. To make sure that our email will look the way we want, we need to set a specific width for each table cell and that’s a lot of work. After creating our email template we need to find a way to test it and make sure that it looks the way we meant on every media or mail service.
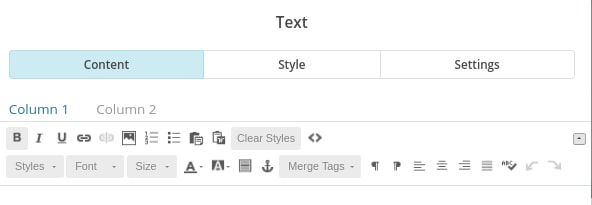
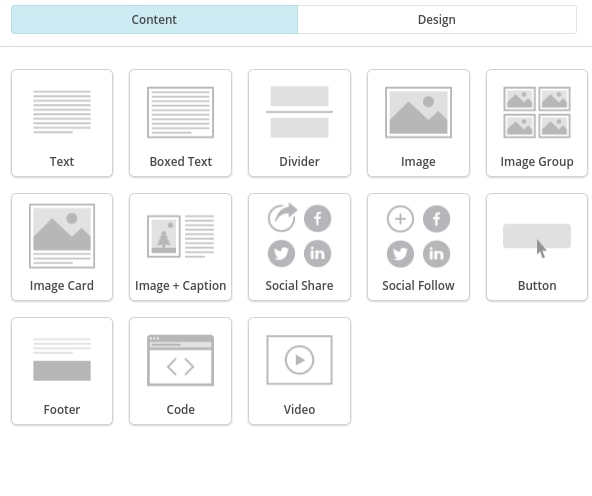
This is when we decided to take advantage of Mailchimp’s wysiwyg editor. In the editor we can build the static version of the email, that will include links, images, videos, etc.
We use the editor to create the email friendly HTML and CSS for us, and later use the export functionality to grab it and move it into Drupal.


Behind the scenes, Mailchimp converted my design into nested tables with the most mail supported CSS rules. There is also an option to view the source on the Mailchimp editor and do my own adjustments. I upload my images to Mailchimp’s cloud, so I won’t have to worry about my users email software blocking images attached to the email.
Mailchimp also gives us the opportunity to test our email template on desktop, mobile, and inbox software such as different versions of Outlook, Gmail, and Yahoo on different browsers. After finishing the email template, I go to my templates list and export it as an HTML file, which is combined with the inline CSS. Next we need to wire it into Drupal.
From Static to Dynamic
The idea is now to take the static HTML and slowly introduce the dynamic content.
Instead of calling drupal_mail() directly we usually use the Message and Message notify modules to send the emails. It has the advantage that each mail is saved in the system, so it’s easier to track (and find bugs, if there are any).
One way to do this, is to create a theme function that has a tpl file, were we have our HTML. Then when creating the message we can replace a dynamic token with the content of theme('my_email_template', $variables)
But in order to convert the static parts to dynamic, we need to see the result. Sending an email on every change can be time consuming and make debugging harder, so we start by seeing the email inside our site, while we develop it. To do that, we can define in hook_menu() a debug path like message-email-debug/% where the argument will be the message ID.
However we’ll need to make sure to disable our site CSS before we view our message, because it might change the way we view the emails. We can safely remove all CSS, since the email’s CSS is inlined.
<?php

/**
 * Implements hook_css_alter().
 *
 * Remove all CSS
 */
function example_css_alter(&$css) {
  $item = menu_get_item();
  if ($item['path'] != 'message-email-debug/%') {
    return;
  }
  $css = array();
}
We can also go ahead and override page.tpl.php so on message-email-debug it will print out only <?php print render($page['content']); ?> without any other elements.
At this point, we can start converting our static into dynamic HTML, while being sure that the final HTML it guaranteed to work in email clients.